- Joined
- Jan 14, 2011
- Messages
- 75,861
- Location
- Gillette, Wyo.
- Tagline
- Halfbiass...Electron Herder and Backass Woof

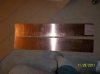
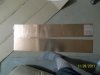
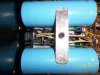
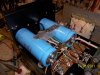
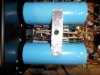
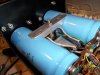
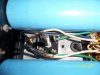
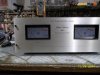
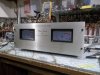
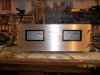
Decided not to go with the bracket mounts, too much trouble for what ya got. This is the simple ,net, clean, way.....
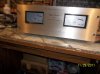
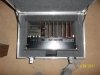
It is the standard White Oak cap mounting method Dennis. PL used a self tapping 10-24 screw through the bridge which effectively taps the die casting.
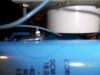
Primped and polished.......