silver_face
Journeyman
- Joined
- Feb 18, 2018
- Messages
- 216
- Location
- Southern Indiana
- Tagline
- ---6 and 7 days work week, no end in sight
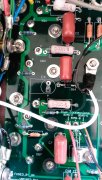
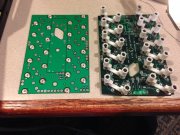
I did not get one PEM soldered correctly on the back of the left board. PEM is in the board straight, but the solder must have been a cold solder.
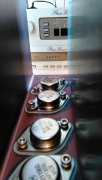
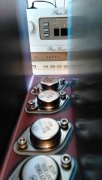
I did the first powerup, went well. Got to the point, it's time to install to second row of transistors. The top screw on the XQ5 location on the left
board got stuck in the PEM about 3/4 way through and I could not move it.
So I try to back the screw out and the PEM broke lose from the board. AW-Oh, now what?
I did not want to take the boards back out of the chassis, if the PEM broke lose all the way from the board I could have.
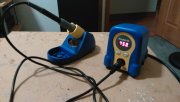
So, I got my soldering iron out and soldered the PEM from the front side of the board, got it too were the PEM would not spin,
while I now was able to back the transistor screw out. As far as I can tell, the nylon bushing is still good and not melted.
I finished installing the transistor with the screw still not wanting to go all the way in, so I used washers on the screw.
Went on to finish all four powerups.

