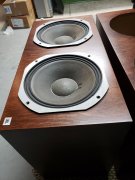
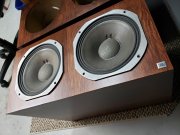
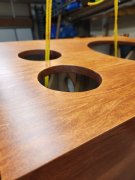
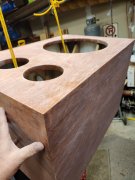
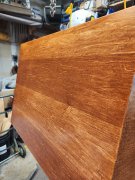
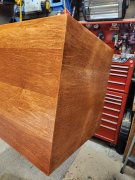
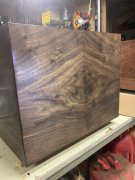
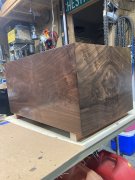
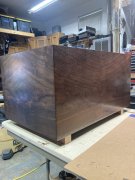
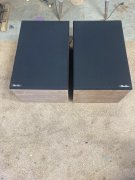
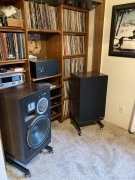
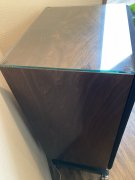
I have a pair of the Phase Linear P-580 speakers that I have been wanting to restore, when I purchased the speakers the cabinets veneer was thrashed, the woofers needed to be re-foamed, Fortunately the Midrange speakers and the tweeters were still in good shape. I think the first thing that I did was to remove all of the speakers and send the woofers out to be re-foamed, the surrounds for that size woofer was unobtainable so the speaker surrounds were fashioned with a splice. I Had found out later that the TAD woofer has a cloth surround and that could have been used but would have changed the sound for better or worse I am not sure. Maybe if I am not happy with the surround that used a splice I will change to the cloth surround. When I pulled out the speakers I noticed some small black pellets all over the inside of both speakers so at some point in time mice had resided in them, all of the dampening material had to be removed and wires checked for nibble marks and replaced as needed and it was needed!! Hey not a big deal I got a good deal on the speakers and I bought them as a project so they were what they were. Now came the fun part veneer, I had purchased all of the veneer that a wood workers store had when they no longer wanted to deal with selling veneer Thank you internet sales! The veneer was mostly figured walnut and some cherry . All I had to do was figure out how to veneer speaker cabinets. I decided that it would be a good idea to test the process first and my first attempt was a colossal F---up. The walnut is figured so it is wavey , all the clamps in China is not going to hold it flat. I had to learn how to flatten veneer a little mix of glycerin, H2O & alcohol paired with a couple granite slabs flattened the veneer quite nicely. The next step was to learn how to book match the veneer, then bag the veneer as it is the only way to consistently veneer each side of the speaker. The process uses a HVAC Vacuum pump , cold press veneer glue, some Tacky tape, thick plastic, PEM film, Matting and a special vacuum fitting and there you have it.


.jpg")
.jpg")
.jpg")