Birth of a New Model One

Vintage 700b

Chief Journeyman
Joined
Mar 13, 2019
Messages
957
Location
Wisconsin
Tagline
Fabricator
#1
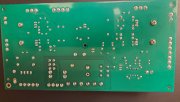
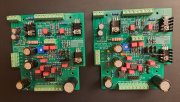
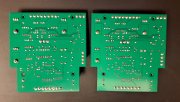
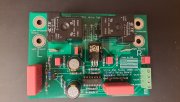
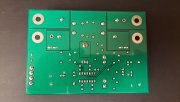
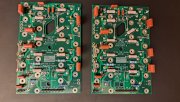
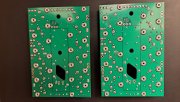
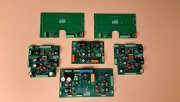
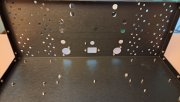
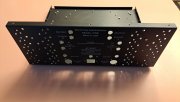
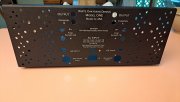
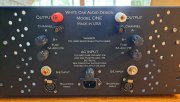
I have been working on the boards for a new Model One this past week. I have just about completed all 8 Boards. These will all get at least another cleaning before installation, they are dusty. I must say, Joe has hit another home run with this amplifier. The fit and finish are impeccable, just a pleasure to assemble. The board assembly is straightforward, and this amplifier is so well thought out, I could not be happier. I have started some of the chassis assembly, but will be away from the assembly until next week. This is the super busy time of year for me, so I am doing what I can, when I get a rainy day, or an evening free. I just wanted to share a bit of the board assembly and stay tuned for more progress next week. Go easy on me, I know there are many much more talented people on here than me :).
Thank You

Power Control Board and Input Control Boards

Power Control Board Front Model One.jpg Power Control Board Back Model One.jpg Input Control Boards Front Model One.jpg Input Control Boards Back Model One III.jpg
 

Vintage 700b

Chief Journeyman
Joined
Mar 13, 2019
Messages
957
Location
Wisconsin
Tagline
Fabricator
#7
Very nice!

Keep the pictures coming.

Interested in your impressions once completed and had time to evaluate.
I will keep the pictures coming as I make more progress.
Probably next week before I can get back to the project, too many things to do this time of year.
I'm very interested as well, I enjoy the 700b's that I built every day, they blow me away.
Thank You
 

Vintage 700b

Chief Journeyman
Joined
Mar 13, 2019
Messages
957
Location
Wisconsin
Tagline
Fabricator
#10
That thing will amaze you!! Nice build!!
Thanks Lee,
I finally got back to it today, and made some good progress on the chassis. Everything is going together like butter !
I really like the layout, and Joe has incorporated so many new innovations on this one. I'm really enjoying putting it together.
Will get more done tomorrow, and more pictures coming.
 

Vintage 700b

Chief Journeyman
Joined
Mar 13, 2019
Messages
957
Location
Wisconsin
Tagline
Fabricator
#12
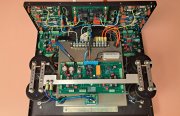
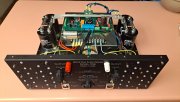
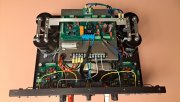
Made a little progress on the Model One. Still a lot to do, but I see light at the end of the tunnel, or is it “I hear the music at the end of the tunnel” :D ?
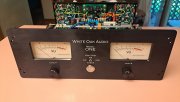
I have a lot of wires to make yet and a lot to dress, but it is coming together. Have the small transformer wires run, and routed, but haven't hooked them into the Phoenix connectors, on the Power Control board, I just ran out of time before I took the pictures. I won't wire up the potentiometers, they are merely dummies. I have never used them on my 700b's and didn't wire them in on my last 2 700b's. This entire build has just been a pleasure. I can’t say enough about the attention to detail, incredible fit and finish on every component that Joe has put into the design. I am really enjoying this build. So here is where I am today.
Thanks

Model One Progress.jpg Model One Progress II.jpg Model One Progress I.jpg Model One Progress III Front.jpg
 

Gepetto

Administrator
Staff member
Joined
May 15, 2011
Messages
14,205
Location
Sterling, MA
Tagline
Old 'Arn Enthusiast
#13
Made a little progress on the Model One. Still a lot to do, but I see light at the end of the tunnel, or is it “I hear the music at the end of the tunnel” :D ?
I have a lot of wires to make yet and a lot to dress, but it is coming together. Have the small transformer wires run, and routed, but haven't hooked them into the Phoenix connectors, on the Power Control board, I just ran out of time before I took the pictures. I won't wire up the potentiometers, they are merely dummies. I have never used them on my 700b's and didn't wire them in on my last 2 700b's. This entire build has just been a pleasure. I can’t say enough about the attention to detail, incredible fit and finish on every component that Joe has put into the design. I am really enjoying this build. So here is where I am today.
Thanks

View attachment 86565 View attachment 86566 View attachment 86567 View attachment 86568
Hi John
You can wire in the pots and simply bypass them with the jumper settings on the amp boards and they will take them completely out of the circuit.
 

Vintage 700b

Chief Journeyman
Joined
Mar 13, 2019
Messages
957
Location
Wisconsin
Tagline
Fabricator
#14
Thanks Joe,
I haven't installed the jumpers yet, so that will be what I will do.
I like the variety of set-ups that the jumpers offer.
Thanks for the tip.
 

Vintage 700b

Chief Journeyman
Joined
Mar 13, 2019
Messages
957
Location
Wisconsin
Tagline
Fabricator
#19
You should John, you don't want those funky washers supplied with the barrier strip compromising the connection.
Thank You Joe,
I wasn't sure what the reason was that the new screws were provided, thank you for explaining that the washers are the issue.
I will rectify before moving forward.
 

Vintage 700b

Chief Journeyman
Joined
Mar 13, 2019
Messages
957
Location
Wisconsin
Tagline
Fabricator
#20
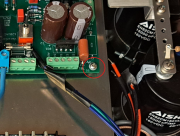
Not required, but you may want to remove the nylon washer below the screw for intended PCB GND connection circled in Red below:

View attachment 86569
Thank You Eric,
I saw the ground at this point, but figured as a double sided board, good contact was made on the bottom of the board against the PEM standoff. Appreciate an extra set of eyes.
 
Top