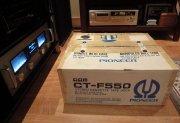
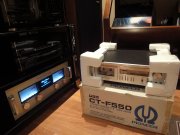
Here we go:
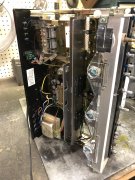
Cracking it open for a deep clean
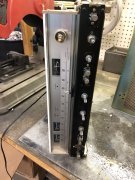
front dial gets dusted out with a paint brush
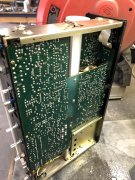
underside of the boards gets washed down and all screws tightened (these weren’t bad)
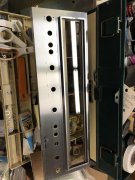
Face and glass (in and out) cleaned. Final step on the glass is lens cleaning wipes, which really make a difference.
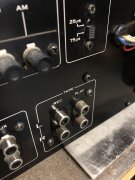
before (play) and after (the rest) on the RCA connectors.
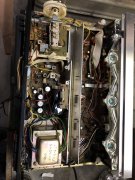
Inside cleaned up; all original bulbs work! I don’t like the look of LEDs in this old gear. To harsh looking, even when dropped down in brightness.

Knobs (that I could remove) after cleaning. Push buttons didn’t want to come and I didn’t want to break them (or the switches), so they got cleaned in place.

tuning in with a spool of hook-up wire for an antenna. Looking sharp; meters dancing, and all lights work.

View from the top. I’m glad I took a few extra minutes detailing inside, because you can see Everything! Just washing it down didn’t help with the baked-on tar/dust cement…
A couple things I found:
Although the heat sink was pretty tight to the board, the screws holding the Darlingtons against the heat sink were quite loose. I could see the split lock washers were not flat. I took a screwdriver bit in a box wrench to tighten them without removing the front panel.
It’s a humble unit but a handsome one I think!
listening with headphones, it is dead-quiet between stations. That video I watches pointed out cleaning the ground wipers on the tuning capacitor (VERY CAREFULLY) avoiding the fins. I sprayed D100 onto a piece of glass and applied it with a small stiff paintbrush. Oxide/sulfide came right off.
