mlucitt
Veteran and General Yakker
My first foray into a complete rebuild of a PL700 Series II was quite a learning experience, I have been a PL700B guy until now. This rebuild included a new chassis, 120V/240V selector switch, WOA Backplane Kits, WOA Control Board Kit, WOA Cylon LED Board Kits, WOA bulk capacitors, new power switch, and DC Protect Board including new input and output connectors.
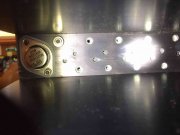
I learned you can put a heatsink in upside down and the amp will still pass a bias test:
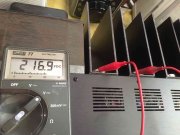
I learned not to test the temperature of the output devices with your hand if you touch two rows at a time:
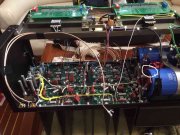
I learned not to let my 250 Watt soldering iron get too close to the bulk capacitors:
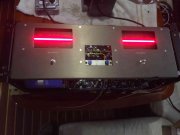
But, I also learned that when I applied power for the first time, the initial bias value was 335mV and it was an easy adjust to get to 350mV, the DC offset was 0.000V, and the Cylon LEDs need the -100V reference (rail fuses uninstalled) or all the segments will light up very brightly:
Overall, the 80 hours of work on this amplifier were very satisfying. However, hearing some Shpongle at mach 10 made it even more satisfying. They call it "Burning in" but it is really the technician saying "Oh, yeah..."
I learned you can put a heatsink in upside down and the amp will still pass a bias test:

I learned not to test the temperature of the output devices with your hand if you touch two rows at a time:

I learned not to let my 250 Watt soldering iron get too close to the bulk capacitors:

But, I also learned that when I applied power for the first time, the initial bias value was 335mV and it was an easy adjust to get to 350mV, the DC offset was 0.000V, and the Cylon LEDs need the -100V reference (rail fuses uninstalled) or all the segments will light up very brightly:

Overall, the 80 hours of work on this amplifier were very satisfying. However, hearing some Shpongle at mach 10 made it even more satisfying. They call it "Burning in" but it is really the technician saying "Oh, yeah..."
Last edited:

