My First WOPL 400 Series 2 Build

Dnspy007

Journeyman
Joined
Nov 13, 2023
Messages
135
Location
Tennessee (Gods Country)
I'm ready to start my WOPL 400 Series 2 project. I've read the Bom/build instructions several times now to familiarize myself on the order in which to proceed. (recommended by Joe) I would like to thank everyone for the detailed builds, Pictures, Comments and suggestions in their posts. Also, Mark Comer for his videos.(Enjoy watching, Very informative) I've learned several do's and don'ts, Things to check before installing(Correct parts, orientation etc...,The best time to install, to make an easier build.(Triple Check before welding) I can't claim to possess the skill level shown by the members here. I will greatly appreciate any Help and Suggestions. Hopefully, they will lead me to a better build. Again, Thanks guys....

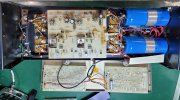
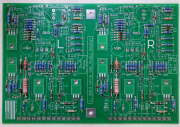
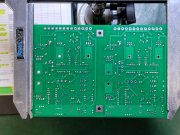
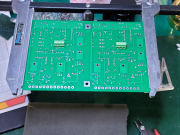
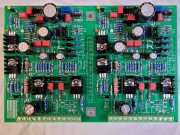
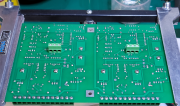
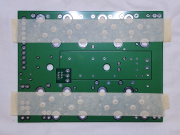
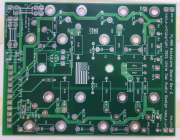
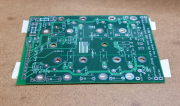
A few Before pictures....

20240318_130349.jpg20240822_065823.jpg20240331_130955.jpg20240331_131102.jpg20240331_131153.jpg20240331_132111.jpg
 
I'm ready to start my WOPL 400 Series 2 project. I've read the Bom/build instructions several times now to familiarize myself on the order in which to proceed. (recommended by Joe) I would like to thank everyone for the detailed builds, Pictures, Comments and suggestions in their posts. Also, Mark Comer for his videos.(Enjoy watching, Very informative) I've learned several do's and don'ts, Things to check before installing(Correct parts, orientation etc...,The best time to install, to make an easier build.(Triple Check before welding) I can't claim to possess the skill level shown by the members here. I will greatly appreciate any Help and Suggestions. Hopefully, they will lead me to a better build. Again, Thanks guys....

A few Before pictures....
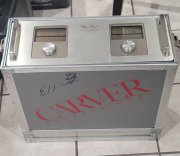
View attachment 86526View attachment 86525View attachment 86527View attachment 86528View attachment 86529View attachment 86530

Nice!

Looks like a very clean amp to start from.

Enjoy the process, post pictures, and ask questions if unsure about anything.
 
Dnspy007,
You will really enjoy this build. Your 400 is a great one to start with, very clean.
Be forewarned though, these WOPL builds are very addictive :D.
There is a wealth of help here on the Forum, if you need it.
Enjoy and have fun !
 
Got the JL Cooper DataSync2 in today and trying to get it between the HD24 and the CuePoint so I have an auto locator for the HD recorder...
 
Looks good, and I look forward to following along.
Thank You, Sir.


Some more Pics .... All Poly caps, Mica caps, TO-92 transistors and voltage regulators installed.

20250607_112223r.png

I've read where this would be a good time to install the Connectors.... :D

20250607_115338r.png

Next in line.... Bias pots, Test points, TO-200 transistors, Heat sinks and Electrolytic caps.
 
Very nice!

Glad to see you’re following directions and learning from other build threads.

Soldering the bias connectors before the other taller components is a good idea, in the correct orientation as well…
 
Very nice!

Glad to see you’re following directions and learning from other build threads.

Soldering the bias connectors before the other taller components is a good idea, in the correct orientation as well…

Thank You, Eric
It sure helps knowing the little things :D Before you end up having an " OOPs "moment. Thanks Again, Guys. I can't say enough about the members for build threads, It sure helped me a lot. Pretty smooth so far. On the test points, Is there a preferred direction to install for easier hookup or, Just willy Nilly....:p

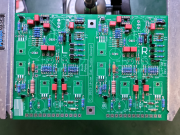
Here's the final picture on the Control Board. I believe it's completed, Let me know if I missed anything.

20250608_155701R.jpg
 
Thanks Guys, Your replies make me feel more gooder and calms the nerves. I was a little nervous at first, Posting pictures of my work. Especially with the Talent and Skill of the members here. Did some reading and studying on the Backplane assembly the past couple of days. Both Boards prepped and ready to continue on with the build.

A few pics
20250611_101438R.png
20250611_093256R.png20250611_120938R.png
 
The backplanes are an interesting part of that build. They seem to take everything you've learned up until then and hit you all at once with it to see if you really were listening....
 
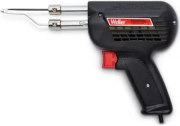
My weapon of choice, Weller WX2 200W 3mm tip.

Although tip mass is important, I find fast heat recovery time more important when soldering high mass components into PCB's with large area fills.

Very uncomfortable contortions and hand techniques required to place the iron tip all the way around the PEM nut while soldering.

IMG_5787.jpg
 
Back
Top